On this page
CRF Minisumo bot
A follow-up to the CRF SumoBot1 designed by Kalle Strålman.
Bluetooth remote control code from Shib Sankar Das’s ESP32-Bluetooth-RC-Car-Project2
Please find:
- Instructions and workshop intro (v1.2, updated 251105) - here
- 3D manufacturing files
- complete release package - here!
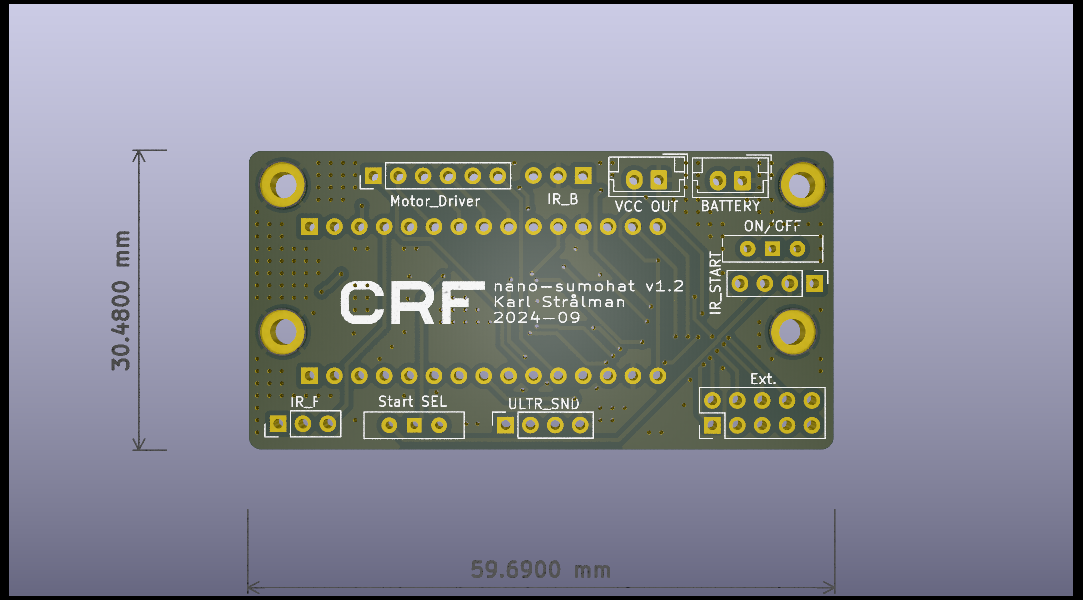
TODO
- Choose wires or PCB for connection (PCB right now)
- Add sensors
- Add Sumo-code
- Design the chassis
- Write build instructions
Instructions
- Obtain Components and Chassis (See Bill of Materials below)
- Download the
minisumo-bot.inofile from releases on the right side - Build the robot according to the instructions
- Upload the code to the robot as in the instructions or as documented below.
Uploading code to the ESP32
- Install Arduino IDE v2 from their website3 or your favourite package manager. Current version is 2.3.8.
- Install the required boards from the Boards Manager in the left column, second icon from the top:
- esp32 by Espressif Systems (current version 3.3.11)
- Install the required libraries from the Library Manager, icon under the Boards Manager (or via Tools > Manage Libraries):
- “NimBLE_Arduino” by h2zero (current version 2.5.1)
- “HCSR04” by Martin Sosic (current version 2.0.0)
- Choose the correct board from the Select Board dropdown > Select other board and port. Then Search for MakerGO ESP32 C6 SuperMini. It will look as if nothing happens but that is fine.
- Connect the ESP32 to your computer while holding the BOOT button on the board. It will show up in the right column as something like
/dev/usb/ttyASM0if you are on linux. Click Ok.- The board may not show up, in which case you need to hold the Boot button while connecting the board, then tapping the RST button and finally releasing the BOOT button.
- Paste the contents of
minisumo-bot.inointo the default sketch or download the file and open it from File > Open - Verify and/or Upload the sketch to the ESP32 using the checkbox and/or arrow in the top left corner.
Bill of Materials
- PCB
- 3D printed chassis
- ESP32 C6 Supermini
- Motor driver: L298N
- Ultrasonic sensor: HC-SR04
- IR sensor: v183
- Cables
Changelog
| Version | Changes |
|---|---|
| v2.0 |
|
| v1.2 |
|
| v1.1 |
|
| v1.0 | First draft |
References
CRF SumoBot, Kalle Strålman, https://github.com/ChalmersRobotics/CRF-SumoBot ↩︎
ESP32-Bluetooth-RC-Car-Project, Shib Sankar Das, https://github.com/Shib-Sankar-Das/ESP32-Bluetooth-RC-Car-Project/ ↩︎
Downloading and installing the Arduino IDE 2, Arduino, https://docs.arduino.cc/software/ide-v2/tutorials/getting-started/ide-v2-downloading-and-installing/ ↩︎